The SAAF Forum
http://www.saairforce.co.za/forum/

Basics of model building - 101
http://www.saairforce.co.za/forum/viewtopic.php?f=19&t=4268
Page 1 of 8

Author:  T. van Vuuren [ 08 Feb 2012, 08:46 ]
Post subject:  Basics of model building - 101

Hi fellow modlers
I think we sometimes forfet that there are novice builders out there that might not be able to get to IPMS meets and learn the tricks we have learned over years of modeling

I recon we should share out skills on this thread and maybe help out some of the guys who have not yet been able to get the correct info on how to build some of the absolute stunners I have seen on this forum.

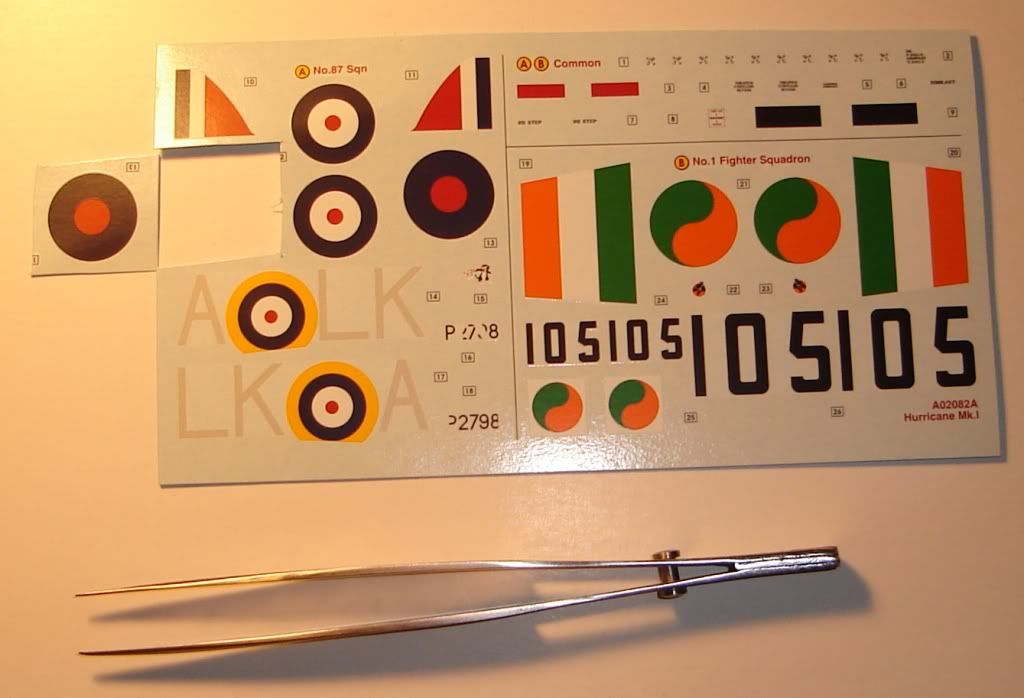
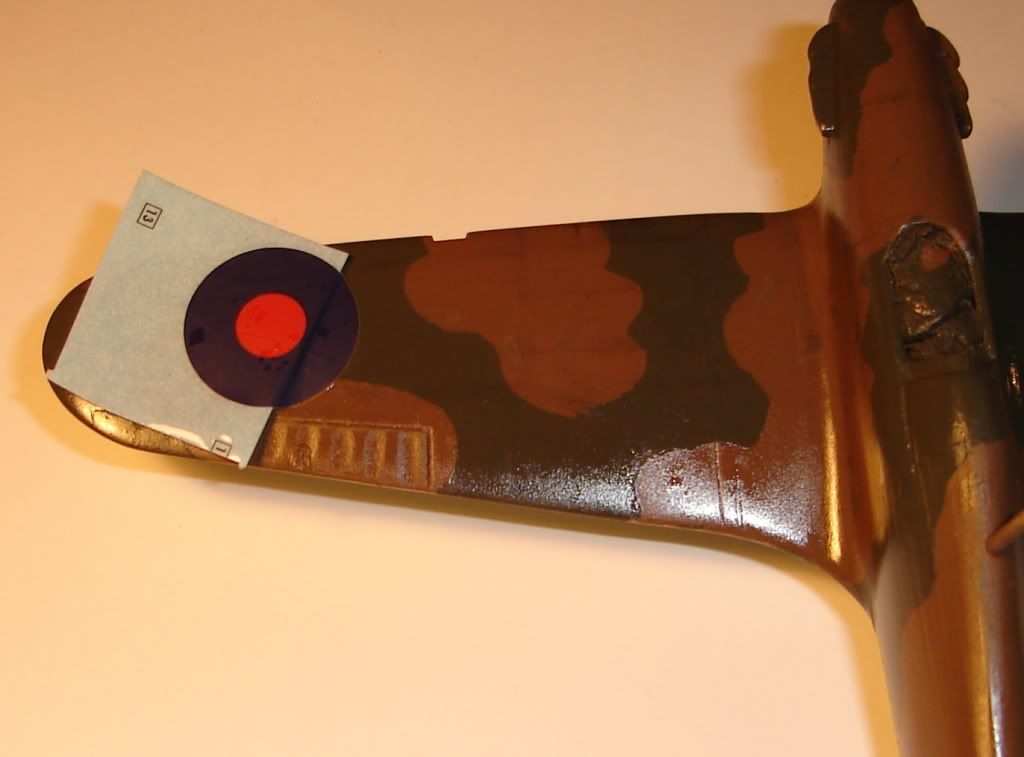
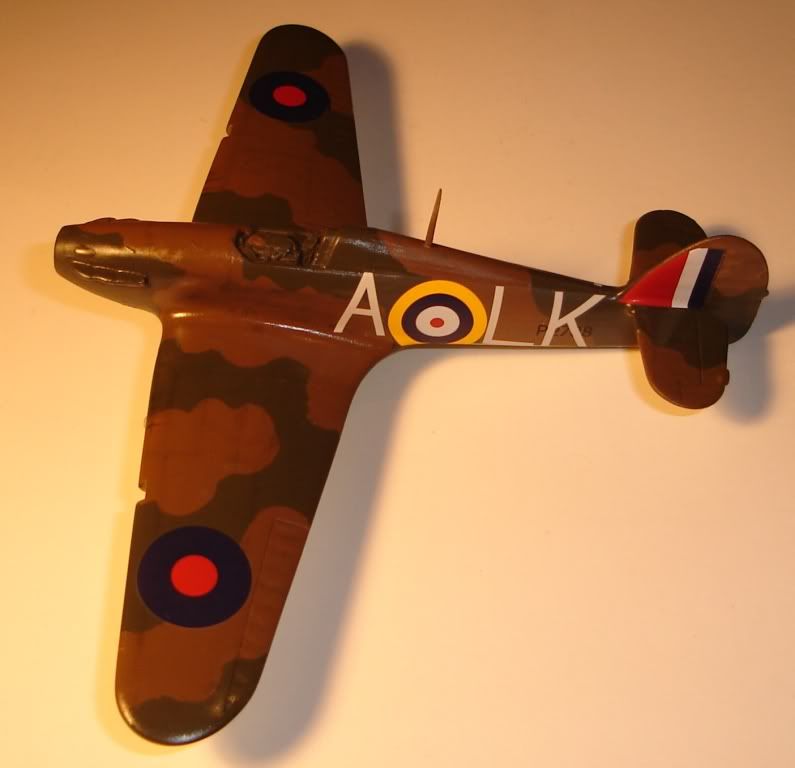
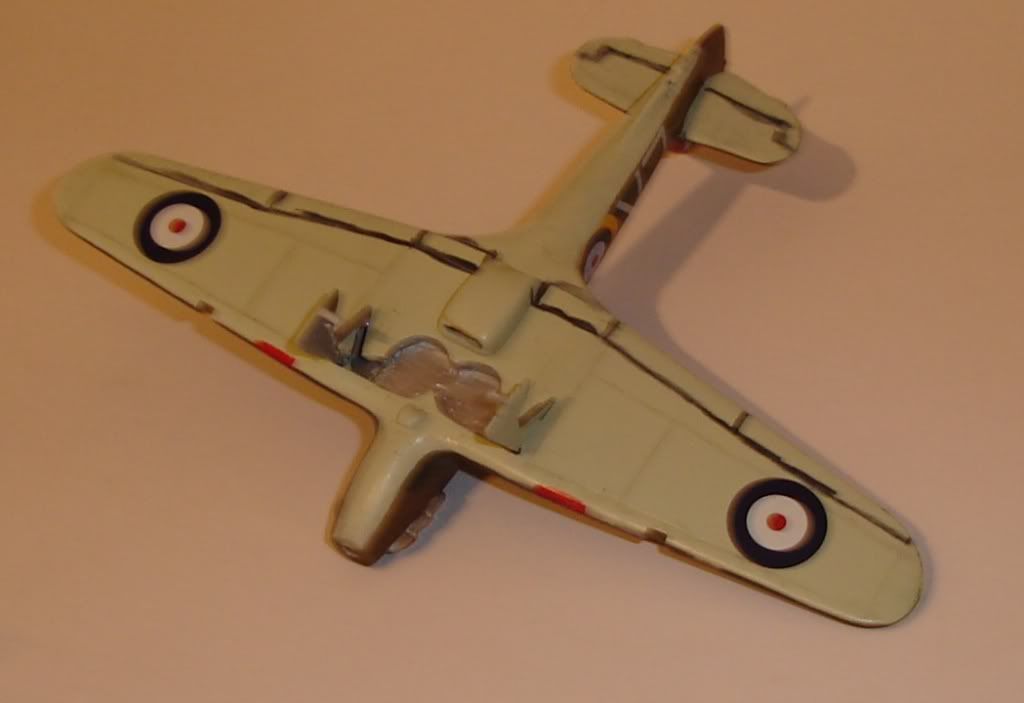
The kit co's sometimes are very vague in the way the instructions are printed and the real "basics" of building is not as apparent as we might think. Things like what tools are needed to start off with, what kit would most likely give good first time results, brush and airbrush painting, how to apply decals, and stuff like weathering tecniques.

I invite all to post there questions ,tricks ,adcvice and how-to methods here. Remeber when we started out (in my case WAY back :lol: ) and just had to open the box in the bus on the way back from the hobby store because I just couldn't wait to inspect the sprues :D

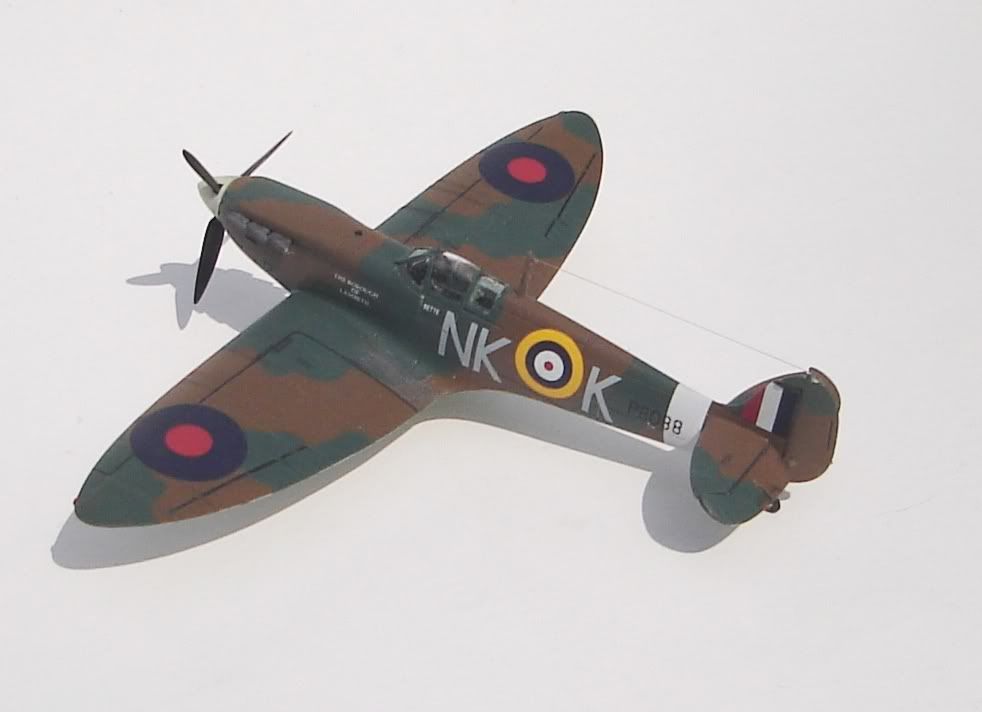
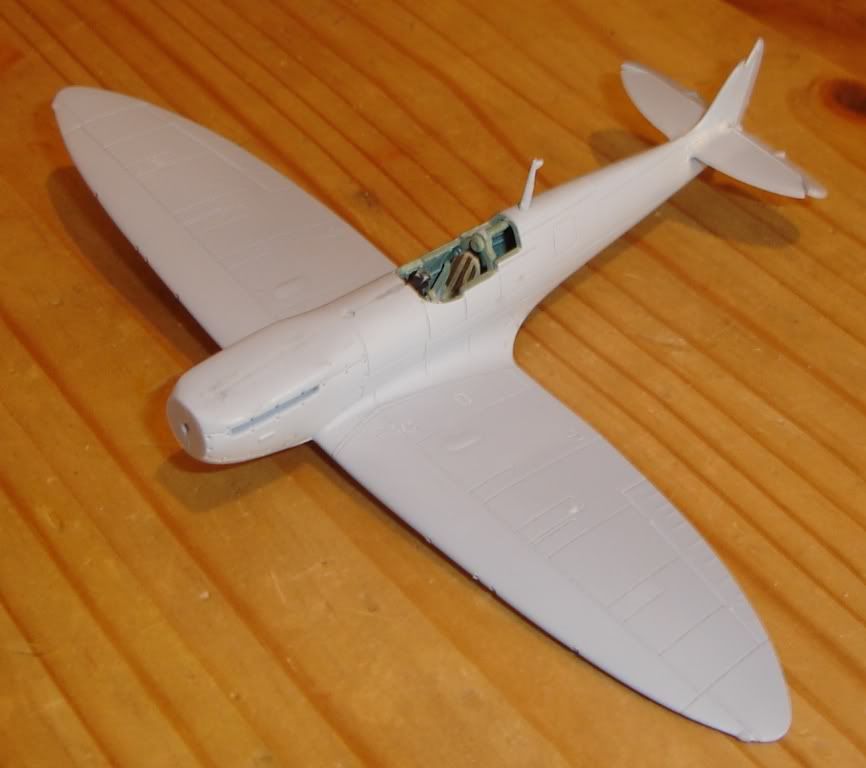
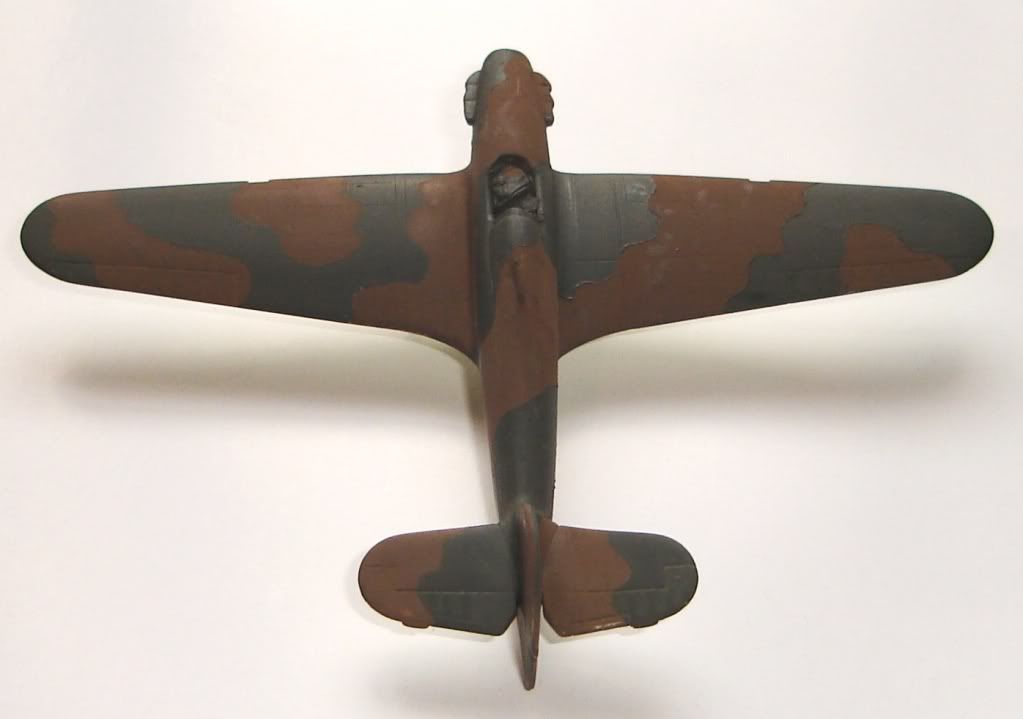
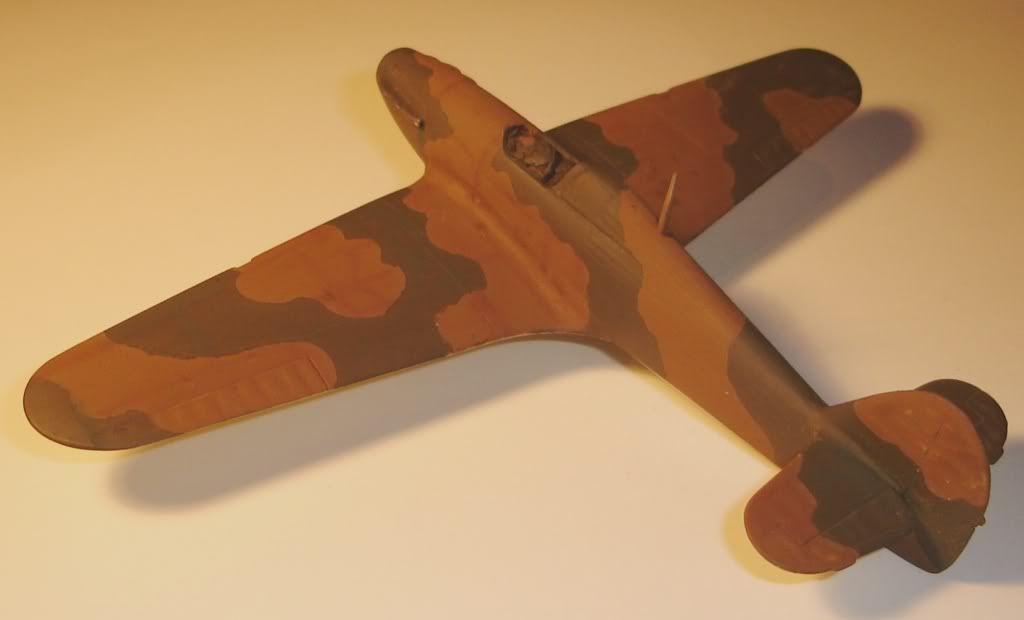
I will post a few things I was asked - feel free to join in [-o<

Theuns

Author:  T. van Vuuren [ 08 Feb 2012, 09:06 ]
Post subject:  Re: Basics of model building - 101

Tools:
a. good hobby knife- used to cut off pieces from the sprue and to clean up any "flash" arround the moulding edges.

b. 600, 800,1200 and 2000 gritt water sand paper. You can buy nice sanding sticks, but I find that a piece of sandpaper stuck to an icecream stick works just as well and is way cheaper.

c. Glues - I personally use the humbrol range of thin cement with the needle aplicator for better controll and less spillage.It costs about R50-00 but you couls easly do about 7-10 models with it.
Suer glue works well for smaller things like undercarrege doors and ariel masts.
Normal PVA white wood gluw works very well to put on clear parts like canopies as it dries clear and does not fog up the glass.
You couls d also get something like humbrol's "Clear fix" for that. works extremey well.

d. If you are just starting out I would think you might not get an airbrush just yet as they are expensive and it does take time to learn to use them. Money could rather be spent on a few kits to sharpen you basic building skills.
There is absolutely nothing wrong with brush painting, and for this you'll need a few good quality brushes. A few small to medium pointy ones and a few medium to large flat brushes. If they are soft bristled they should give less to no brush marks.

For brush paintingI have found enamels like Humbrol and Tamiya to give the best results. I can not for the life of me brushpaint acrylics :oops:
Two or three light coats of thin paint is better than one heavy coat. I thin my enamels with miniral turpentine and you can go up to about 40% thinners without any pigment seperation in the paint.
Start with the light colours and then the darker colours over that.

e. Tweezers to grip small parts.

That is about that unless I forgot something.

T

Author:  T. van Vuuren [ 08 Feb 2012, 09:47 ]
Post subject:  Re: Basics of model building - 101

Decaling is easy if you just do the following steps.
Gloss clear coat the model first (not required if the paint is gloss) to help the decal ti seat better on a smooth surface and not "silver" on the carrier film.

Cut the decal from the sheet about 3mm from the decal.Put it into a shallow container of water (I used luke warm)
Some decals slide off easly and others ,especcially older ones need more time in the water to come loose from the paper.

Normally kits give extra decals for a different sceeme an you could use these to see how long it needs to be in the water. I would say between 40-90 seconds is ok. You don't want tje decal to completely come off the paper in the water, they are fragile and will curl up and be useless.
After a short time remove the decal (still on the paper) from the water with a tweezer and old it over the area it needs to go.
Wit a stiff paintbrush (wetted in water) slide off the decal and place it where you want it.
Dab away the eccess water with some kitchen towl and the decal shouls then blend well with the model.

Seal the whole thing with a clear coat of gloss,satin or matt depending on the look you want.

I will be decaling soon and will try to post a few pix so you can get the idea.

Theuns

Author:  Raptor86 [ 08 Feb 2012, 12:19 ]
Post subject:  Re: Basics of model building - 101

Hi Theuns

Thanks for the tips so far. Nice to get a little help.

What do you reckon is the best finish to apply: gloss, satin or mat. I've done one model so far and found the gloss finish didn't look so good.

Thanks again.

Author:  T. van Vuuren [ 08 Feb 2012, 12:45 ]
Post subject:  Re: Basics of model building - 101

Raptor86 wrote:
What do you reckon is the best finish to apply


Well that all depends on what you are trying to achieve. Lets say something like a Spitfire or Huricaine would normally have a very dull look to it. Most aircraft operating in the desert would vey quickly become allmost totally matt due to the sun and the sand whipped up by the wind.

Things like P-51's in Bare matal had more of a satin to glossy look to is and things like some aircraft of the US /Royal Navy initialll had a very gloss to it to try and protect against the salt spray. Gloss also cleans allot easier than matt.

I have seen pix on SAAF Mirages that have sections in high gloss and the rest of the plane is more satin, could be a replacement pannel or a repair.

Go look at my Mustprang pix I will post soon and you'll see what a satin to glossy plane looks like.

My Hurricaine will have a much more dull look to it.

T

Author:  W407594F [ 08 Feb 2012, 18:24 ]
Post subject:  Re: Basics of model building - 101

To remove parts from the spruce use a good set of modeling clippers/ side cutters and a sharp blade and sanding stick etc to remove residue

Also helpful is a set of metal files of different shapes

A pin vice and drill bits to open up holes, gun barrels (syringe neddles are good for these)

Use a tooth pick to apply little amounts of cement to parts, pour some cement out and dip tooth pick in puddle

Author:  Mistral [ 08 Feb 2012, 22:05 ]
Post subject:  Re: Basics of model building - 101

My pet peeve - decals. Try to use a decal softening solution such as Microsol and Microset. Use an old model as a test base - spray a gloss coat on it. Before applying decals to your latest model, test one on the test model. This will give you an idea of how well the decals will perform and whether you should rather invest in a set of replacement aftermarket decals (like Mav decals :D ). Just to illustrate the point, I'm building the awesome Tamiya Spitfire - awesome until you try to use the decals. Although printed exceptionally well, they are crap. They silver and do not repsond to decal softener. I've just started applying the kit decals to the Eduard Mirage IIICZ and these are brilliant - they go on like paint. Moral of the story - don't spend hours building and painting your kit only to have the decals stuff it all up.

In terms of finish, gloss varnish as a final finish rarely provides a good scale effect. Rather use satin varnish. Also when painting natural metal aircraft, if you use silver paint, try and dull it down a bit or use Tamiya X-16 aluminium. Remember that most operational natural metal aircraft weathered as much as painted ones and that aluminium does oxidize providing a duller finish. When painting, always lighten paints with a percentage of white, again for scale effect, especially on the darker colours. The smaller the scale, the more white should be added - possibly up to 30%, but this is a real case of trial and error and what looks right.

Author:  T. van Vuuren [ 09 Feb 2012, 11:24 ]
Post subject:  Re: Basics of model building - 101

If you paint with a brush or air brush you wil likely have a ridge where the two collours meet, unless it's a soft edge with airbrush and no masking.

You can see in this pic the ridge on the right hand wing of my 1/72 Huricaine.

Image

Look at the left wing and fuse after wet sanding with 2000 paper. The ridge is basically gone and the gloss clearcoat for decals will smooth it out further. If you were to put decals over the ridge, there woulb be a very defenate rise in the decal and not look "painted on"
Also be carefull over raised detail not to sand through the paint like I did on the fin and rudder #-o
Thin paint on a small soft brush will sort it out quick.
Image

Next "installment" I will show how to do some post shading with chalk pastels and drybrush to bring out some of the detail like pannels ect.

T

Author:  W407594F [ 09 Feb 2012, 14:53 ]
Post subject:  Re: Basics of model building - 101

Photo bucket no working your pics are gone, must have been the brake fluid :)

Author:  Wingman [ 09 Feb 2012, 15:06 ]
Post subject:  Re: Basics of model building - 101

.... or transmission fluid :lol: :lol:

Author:  T. van Vuuren [ 09 Feb 2012, 15:48 ]
Post subject:  Re: Basics of model building - 101

Drat!and I just cleaned up my photobucket acc abd chucked tose pix :-x

Ah well, it wasn't done so well anyway :wink:
I have clear glossed the model now and will see if anything can be seen in a new pic, stay tuned.

T

Author:  Hornet01 [ 09 Feb 2012, 15:58 ]
Post subject:  Re: Basics of model building - 101

Can anybody please give advice on how to droop helicopter main rotor blades....?

Author:  T. van Vuuren [ 09 Feb 2012, 16:54 ]
Post subject:  Re: Basics of model building - 101

I have heard of using steam or hot water, but this risky I think. I just form them between my fingers. Sure geoff here will be able to help you.

T

Author:  T. van Vuuren [ 09 Feb 2012, 20:18 ]
Post subject:  Re: Basics of model building - 101

See the ridge on the unsanded right wing?
Image

Light post shading with drybrush on pannellines
Image

Decal cut out and these ones took about 60 sec to come off the paper.
Image

After brushing on some Tamiya MarkFit setting solution I slide the decal into place avoiding air bubbles.

Image

Without a gloss coat before decaling the carrierfilm between the side letters would showup as "silver" when fine airpockets are trapped under it, the final result will only be seen when the matt clear goes on.
Image

T

Author:  T. van Vuuren [ 10 Feb 2012, 15:47 ]
Post subject:  Re: Basics of model building - 101

Darn, I will have to re-load those pix. It seems that if you delete them after posting from PB they are lost :?
Anyway, here is the pannelline wash tecnique. It is used to highlight resessed lines by using a chalk pastel slurry. Scrape off some soft chalk pastel and add a few drops of water, maix to a slurry and brush it into the pannels you want. Make sure this is over the gloss coat!.
After dry whipe off the excess with a slightly damp soft cloth at 90 deg to the pannel.Then Clearcoat over that.
You don't need to be to neat with initial brushing, 95 % of it will be removed anyway :lol:

Image

T

Page 1 of 8 All times are UTC + 2 hours
Powered by phpBB® Forum Software © phpBB Group
https://www.phpbb.com/